Redirection by jim lehmann

The other day I went out with my Olympus OM2sp + 50mm F1.4 Zuiko and Fomapan 400….but prior to leaving I ‘redirected’ a few things. It helps to think, experiment….try things out and see what comes of it.

The first thing I did was to adjust how I might shoot….I purposely over-exposed by a few stops as I shot BW film. I did this to make sure that I didn’t lose the shadows and sometimes I feel my shadows get a bit lost, as in ‘faces’ etc…. Although I ‘spot meter’….and expose for a particular area, as opposed to center metering or having the entire image metered; by hitting my light exposure in the middle….just wasn’t what I wanted here.

The middle exposure setting is just that; the middle….and all told, and in theory it works…..and I could always lighten up in software after the fact; it was something I didn’t want to do. I wanted to get exposure ‘right’ the first time around. Thus, I overexposed on purpose but certainly not ‘blown out’.

The second thing I did was on the opposite end. The image was already taken and now I am in the dark room developing my film. My plan was to expose in the developer an extra 30%….so my regular 12 minutes with Fomapan turned into 15-16 minutes in the tank.

You see…the first half of development, or even the first 5 minutes is for the shadows and the second part is for the highlights. By keeping my negatives in the tank an extra 30%, my highlights will be that much whiter.

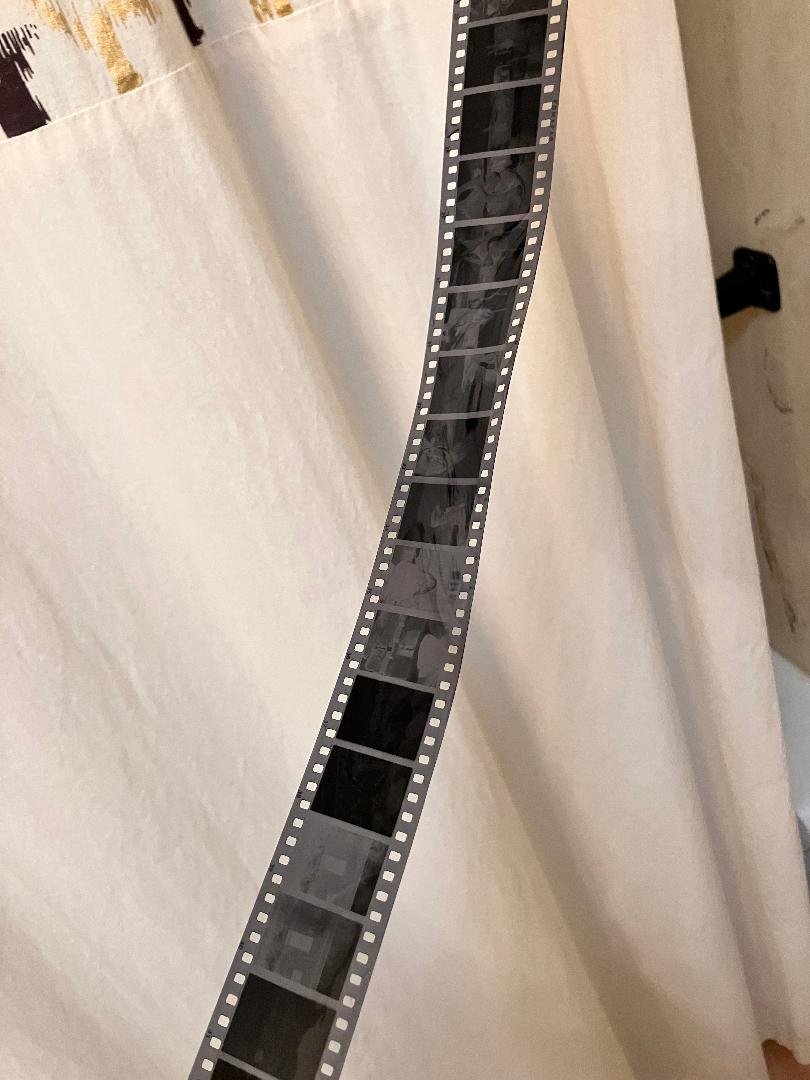
Then….when I get into my scanning process, I can expose with additional contrast; bringing in the shadows to make them deep where I want to,….OR…..I can just scan regularly and while in some software I can lasso different aspects and layer in additional contrast where I want. Either way, I think it worked. See the image below….. thoughts? Some might think I am ‘overexposed’ in the face…but. to me, this was the look I was going for. Highlighted and not dark and certainly not perfect.

Olympus Half Frame Pen F results.... by jim lehmann

The other day I took out my Pen F and shot a roll of 24….knowing that I would get more like 48 shots from it. I played with it, I worked it….I experimented with it. I shot 1.4 in broad daylight without a ND filter….I shot F16 on a cloudy day, I used a combination of shutter speeds accordingly etc…. The point was I wanted to see how shutter worked, F etc on my Pen F….as well as a new Zuiko 85mm equivalent lens I picked up from a Japan camera store as I compared it to the 38mm lens on the camera.

All told….I was pleased. As you can see by the negatives below, the images are vertical and not horizontal (although you can still shoot horizontally). And more importantly, they ‘came out’ :-) …. I was a bit worried since when I rewound the film it had an odd feel to it like I didn’t take many images. Not sure why, but that had me worried, so seeing the results below had me jump up and down.

It is important when experimenting with a camera, lens, situations….that journaling comes into your focus and this becomes a natural process to you. Journalling, especially when working on a project, adds a written history to your images. It helps, let alone it is fun…..to return to your journal after completion of a project and re-read what occurred. Journalling becomes the frosting on the cake, with the birthday candle stuck to it. After every single press of the shutter, I would immediately write down my settings, so when I started to review my negatives, I could see the settings for each negative. Sometimes I used two settings for each half frame set of images. I learn from my mistakes and put the time in ‘during the process’, to do just that. A portion of my journal is below.

So, that brings me to the end result…or what did I take away. With film, it is important to expose for the shadows so in some cases within my experimentation I over-exposed several stops. The importance of this stood out within my images. It was easy to casually view a negative without perusing my notes and be able to determine this. The Second thing I learned? The wide open lens on the Pen F (38mm) or….. (53mm equivalent) is sharper than the 60mm (85mm equivalent). One reason why I picked up the longer lens was I am going to be getting close to people and at the same time take multiple shots of them. The Pen F has a problem. It has a very loud shutter….which would even alert a bent old lady with two hearing aides that something was amiss. .So the 85 equivalent promised me the ability to shoot somewhat of a close shot, but at a distance, far far far away from the noise of the Pen F shutter. And not to be forgotten, since this project will be done in downtown Philadelphia, the noises of the city will help.

The shots below show some of my results. You can see the first paired shots, which were with the 60 (85)mm…are just a bit fuzzy. With a half-frame, you are bound to get more fuzziness regardless of lens, simply due to the size of the frame (half frame), but in the images below, it is noticeable . I also shoot using Fomapan which is not nearly as refined as TriX or Ilford 5p.

The second set of connected images is also done with the 60 (85), but the light was more exposed in this image from both frames. Notice though the difference in exposure between left and right images, as the angle was opposite.

The third pairing of images was done with the 38mm lens (53 Equivelent) and I believe is sharper …..It just goes to show you how much you can learn if you elect to burn a roll of film or two. I am not done learning my Pen F.! But I am willing to put the time in for a project in which I will be using the diptych technique…. Take care all…

More on "Street" by jim lehmann

in previous blogs I have spoken to several things that make for better ‘street work’…. One of them being ‘choosing the correct gear’ (camera and lens), while the other is access. So read a few blogs behind this one.

Another ‘street’ element to take into account is “Time’….

The same can be said for just about any venture one does for pleasure or work, but having the time and spending the time in the field is critical. If you are not ‘out there’, you won’t capture any images. That seems pretty basic. But surprisingly I see many people who want to be street photographers but rarely spend time in the field. Most lately, and one that directly relates to me is that I have a local meet-up group here in Tucson and soon-to-be in Philadelphia, and although multiple folks belong to the group and perhaps comment on photos, or post one or two of their own, rarely do they actually go ‘in the field’…

Without going into the field, essentially there is no growth opportunity. How can you get the hang of choosing the right gear etc, or….gaining access to a situation; if you are not on the street frequently. Being on the street allows me to see if the camera I brought along is worthy of what I am trying to capture. Or, the lens I have…. I know for a fact that when I go into a ‘parade’ situation or busy streets, that many times it is best to have at least a 50mm lens, and sometimes a 75-85mm. How did I figure that out? I know the way I prefer to shoot; I know what I am trying to capture….and by trial and error, I fknow my optimum focal length depending on the situation.

Without being on the street frequently and putting my time in, how do I learn how to gain access to some very tricky situations? How to shoot in a dark alley and be safe? How to be around groups of people at night? How to shoot pretty girls and not offend them? How to shoot candid shots and less reliance upon posed shots? All of that begins with and ends with; yes…you guess it….putting the ‘time in’ your photography and learning what there is that needs to be learned.

So time….such an easy thing. Now, I also hear photographers who tell me that they are burned out and don’t feel like going into the streets. Well, perhaps….. Perhaps also that street photography isn’t for you. Or, perhaps they fail to realize that it isn’t always easy to build up motivation to ‘put in your time’. I suffer from that as we all do. This isn’t any different from a painter, or sculpture or any artist at work. Sometimes you don’t want to put in the time. I get it….but I also know that when those unmotivated days show up, the only way to get around them is simply to take camera+ lens + film and go out on the streets. Admittedly it is easy for me to do this while in Philly since my condo there is downtown, as opposed to getting into a car and driving to your destination. Still though…..ask yourself. Do you want to be a good street photographer and if the answer is yes, well….you know what is required of you.

Access To.... by jim lehmann

Street Photography has more depth than the vast majority of street photographers assume. When I visit forums or watch You Tuber’s spout off, I am blown away by the lameness of shots. I call them “tourist shots”….”post card’ by nature representing buildings or snapshots of people with little depth, no meaning, a blank narrative….absent of a story.

You see, your images need those in order to take your images to the next level. Make a point to capture photographs that tell the viewers something, whether it is one photograph or a series of that compliment one central theme (as I prefer them). In either case, the photographer needs to hone a series of sub-skills in order to achieve.

Take this photo for instance….


Take Note… this is a pure candid shot….I didn’t ask this lady if I could take a shot…nor did I have her pose in any manner. I simply took the shot and the result is ‘one image’ that tells a story. What is she thinking? Look at her expression; she appears to be lost in a daze. and oblivious to her surroundings. A wandering mind.

What did I do to capture this? …..I gained access to her world. I became as common to her world as the litter at her feet. I became non-existent. How to do that? A few tips.

First….dress the part. This was an alley at dark….the evening when the young ones come out for their night of frolic. I didn’t stand out in clothes but became a part of them in my clothing.

Second….I was the scene. I was there first. I waited….I didn’t come to her but she came to me. I was there first. I sat and just waited for something to occur in that alley, knowing that eventually something would. I had no idea of what though. I waited…I had patience…I existed and I melded into this alleyway.

Third….When ‘she’…..came, I was there but not in an overt or blatant manner. Just because she sat next to me doesn’t mean that I grabbed my camera and shot. But I let ‘her or she’ become comfortable within her surroundings. I wanted her to be natural.

Fourth…when it came down to shooting, I was prepared. My settings were already in place for that alley shot with my exposure set. My focus was ‘zone’ and just needed an adjustment to show she was a few feet away as opposed to 10. Just a quick glance at my settings and I adjusted. No more needed.

At this point….I had established my ‘access’ ….I simply needed to get a quick pull up of the camera and press the shutter. She never knew, it was that quick.

My 'Half-Frame' Project by jim lehmann

My upcoming project (I always have one on the horizon) will utilize my 1960 circa Olympus Pen F half-frame. I am ultra pumped about this project as it will extend well into the entire 2024 year. Currently my Pen F is coupled with a 38mm lens which is the equivalent of 55mm in full frame. Having another Zuiko 55mm lens and having worked with that focal length on my OM-1 film camera, and having done so exclusively for my last project (Same Ole Shit), I am fully aware of what a 55 can do. But the 55 i used prior was for that OM and not this Pen F, but, the uniqueness of that focal length stands out. .

But now ladies and gents, please allow me to introduce to you the larger 60mm…..(85mm equivalent) which I will use to compliment the 55mm lens. . A minor issue I have ahead of me but yes; I still need to find a good copy of this lens. They are out there and can be had in excellent shape, and should be, given the $$$$. Another old but relatively rare Pen F lens, but ….it should be just about perfect for capturing my street images from just a bit further away, or street portraits.

As I approach my photography goals today, and I might add…I continue to grow in my craft…I seek to hone in on my projects using the right gear combo. Thus the Pen F half-frame and the 38/60mm lenses. Yet there is more, yes more….. How I ask, can one move forward with a project of this caliber with out a bit of fun built into it?

Fun, what is fun? What does fun look like in photography? Well, that varies…. but I know from past projects that that ‘fun’ involves motivation to get up daily and to hunt the streets. Go past the weather, the grime…the miles I walk and seek out compositions and scenes that match the project. That is the ‘fun…’

Pre and not Post by jim lehmann

I have this ‘thing’ ping-ponging around within my mind…..where my photography needs to focus on capturing truly creative images. So, when I go out for my street photography walks, in addition to seeking out my projects/themes approach (see previous blogs on); I desire creativity….beyond what others might see. If my images don’t beg a question or provide a ‘wow’ response from the viewers, well, what good is it?

Now, to reach a level of creativity, I feel I need to visualize the final product I desire and then to set my camera functions ‘ahead’ of even pressing the shutter, as opposed to many who simply grab a shot and then rely upon ‘photoshop’ to do the rest, if any. Case in point: The other month (I travel a lot so I think in terms of months as opposed to weeks or days), I went to a photo club meeting where the vast majority of people shared images that were photoshopped. When asked what they did to get that image; well….they simply had no idea. They merely pressed a button.

Even if they could recall the button(s) pressed, I feel their process is inherently the wrong approach ( I.E. Post is not Pre….Pre is not Post). What does that mean? PRE is being creative even before you press the shutter. I am creative ahead of the shutter. I visualize a final scene, and for my photography, this implies that I visualize a world of color and transfer it to high contrast black and white. But the visualization extends beyond that. What should my camera settings be? Set them in the Pre-stage. Adjust the settings now, and don’t rely upon Photoshop to do so.

This is more of an authentic approach in my creativity, as this is done prior to capturing any image, and not as will-nilly with concentrating on software afterwards. Create and know what you want the image to look for ahead of time and get your settings in line. This is easy with digital, and a sure ‘guess work’ with film; trust me on this. But part of the fun with film is experimenting.

So look at the photo below….. pre-set, not post…I wanted the starkness to show. The people; well…an aura of them to be dispersed within the highlights. Did I succeed? I think so….I like this shot. I have a book that it will go in. The point is. Be creative. Be Creative in the Pre-process and not the Post process. Know your settings and know your camera and know what you want from the shot and simply match the settings.


Light Meter by jim lehmann

Bresson on light meters:

You mustn’t use a light meter, you have to know exactly what, to weigh the light. A cook doesn’t take a scale to know how much salt you should put in a cake. The salt you put to give, to enhance the sugar. It’s intuition, it’s instinctive, and it’s the same thing.

An Interview with Henri Cartier-Bresson from 1958 | PetaPixel

Far out man….far out. Learn the sunny 16 rule and experiment. Don’t allow yourself to succumb to the light meter.

Diptych by jim lehmann

My next upcoming new project will involve diptych…… This is where you build a story using two frames that are close to each other …they connect in some odd manner. I will be using my film Pen F from the early 1960’s. This half-frame camera essentially takes vertical frames using the camera upright, and fits two images onto one 35mm negative frame. There is a small line that separates the two images within that one frame.

The half-frame Pen F fits this mode of creativity well (Diptych). First, since each image is half the size of a regular 35mm negative, it becomes more difficult to enlarge any one image. Sure, I can crop each individually but am thinking I want to keep both images ‘side-by-side’ and present the two, as one.

This way, I have an immediate connection to a story…. Those two images connect. It might be of a person where one image is close up, while the other is afar….or can be of an image scene where I view from opposite sides etc. I know I have done that in multiple cases such as this one below.

These two images were shot in Melbourne, Australia using a Leica Model 2 with Fomapan 400 film. While not a half-frame, the same concept applies. These two images fit….they connect. They use one person candidly captured from two different angles in this case.

But the idea of a half frame camera and my Pen F….intrigues me. While I am in Australia now, my Pen F is back in the states, so…..will be a few weeks before I get a chance to play with this concept and approach it with images , side -by side….. Stay tuned.