


This entire Gallery documents my Salt Printing process/learning experience. The sequencing of journal notes and images created, show the process of ‘learning’ from 2022 thru 2024 currently…This first particular image represents a image created using a UV light box at he Halides Project studio in Philadelphia, PA. I enjoyed the light box but initially reverted back to ‘sun’ processing since I live in Arizona and there is a lot of sun! But the sun does carry with it, a huge variable in terms of intensity. Beginning in 2023, I started to use a home-made UV light box exclusively. Also I transitioned in 2024 from using transparency film for enlarged negatives to dry print paper (just common printing paper), so a dry print as opposed to a wet print. But I returned back to Pictorico Ultra as my preferred negative enlargement.
Keep in mind that the images uploaded , were taken from a digital camera and then uploaded. This makes the ‘color’ a bit off on each image in this section. Some of the browns/sepia or blacks are not true. This is important to note as visually checking the color in the content frame is one way to check the process
Note: This first image was 5 minutes under the UV lights in the Halides Project in Philadelphia. When working with a UV light box, the time will vary depending on the intensity of your UV lights and how you built the box etc. Email me, if you have questions. The remaining images in these notes were first done under natural sunlight/UV rays, while I eventually transitioned to my own light box in Tucson Studio.
My ultimate goal is to have an ongoing / ever-changing zine showcasing street photography using a salt-printing process. Updated of course as new salt printed street photo’s come into play. For now, I have sufficient number of salt prints to put together a good zine for the upcoming Philadelphia 20/20 Photo Festival in 2025. (Cherry Street Pier in Philadelphia, PA, USA).
See next image’ as the notes on this page describe the process for that image. I will continue this same format of explaining (notes) and then showing images that pertain to those notes, and then showing the image particulars (paper used, time under UV lights, other timed elements of the process).
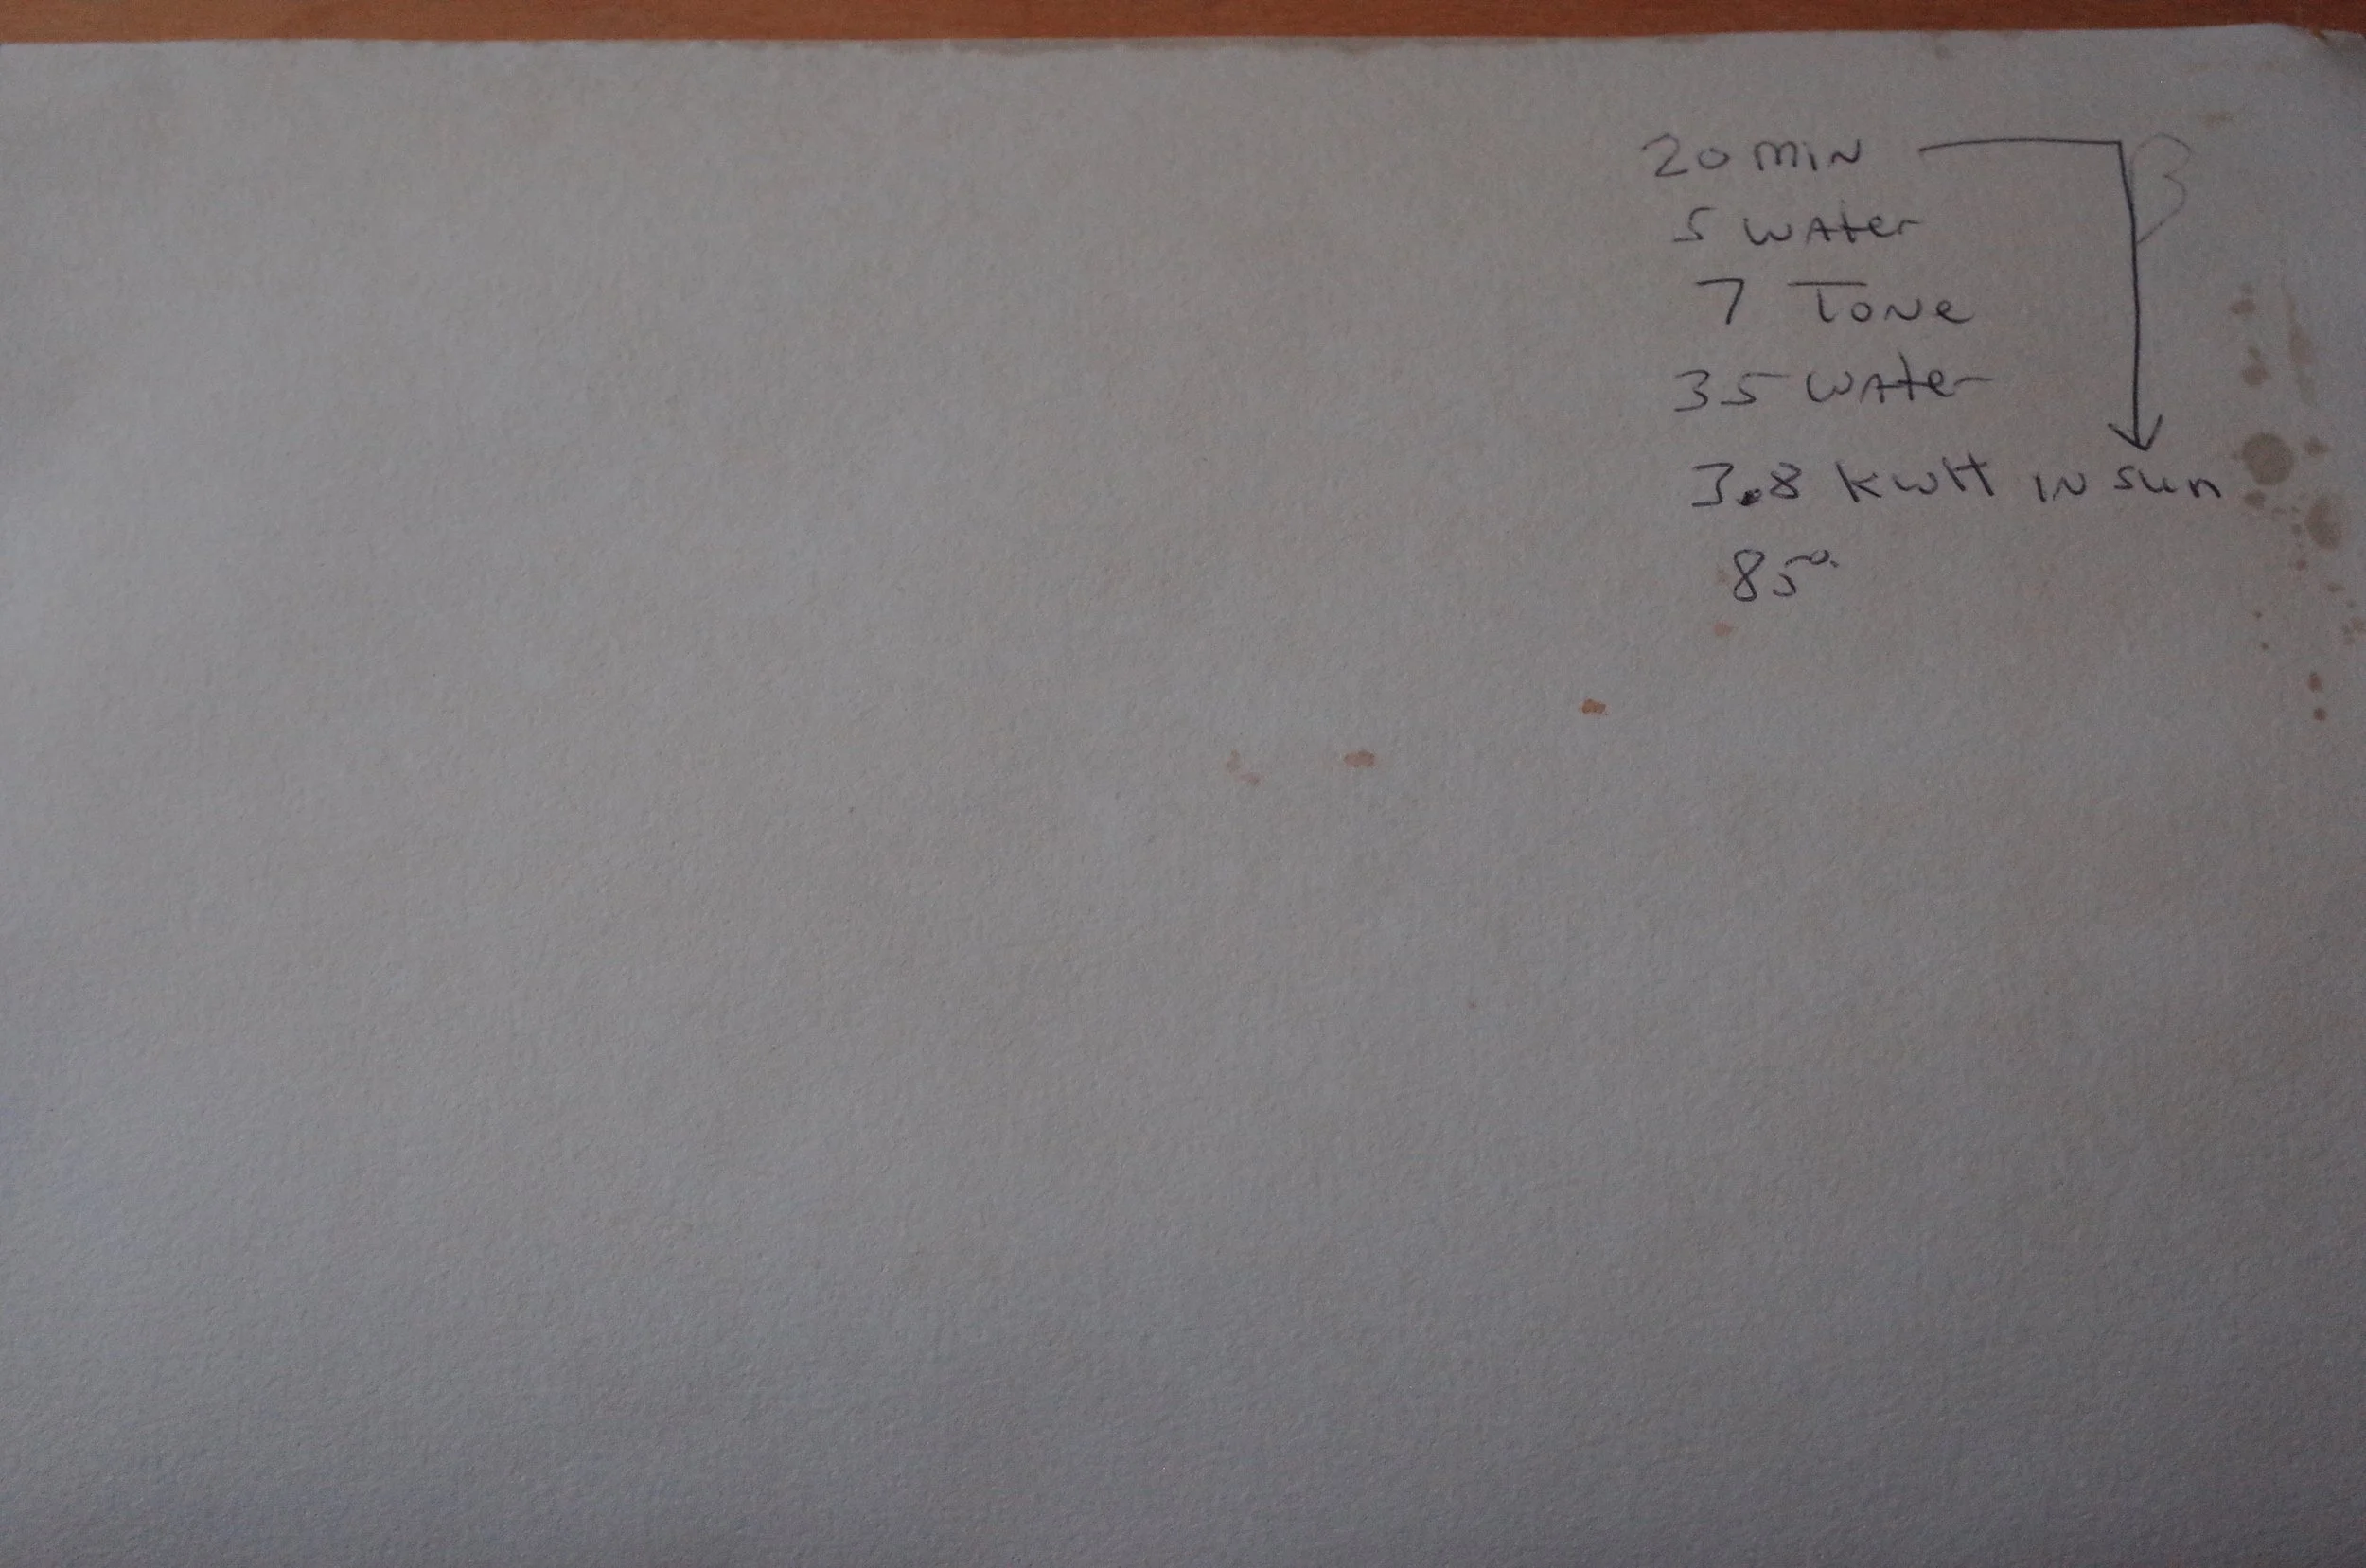
Way too dark…sun was real harsh so the sun was a variable I needed to figure out how to control. Yeah, good luck.
This written data shows some of the details taken from the previous image. The KWH unit is used in the solar power industry showing Kilowatt hours per square meter. I obtained this from my phone APP which is connected to my roof solar panels. This figure cannot really transfer to the Salt Printing Process universally but does allow me to gauge the strength of the sun at my house, at any given time. The higher the KWH, the less time the image needs to develop in the Arizona sun. The figure 3.86 is relatively high.
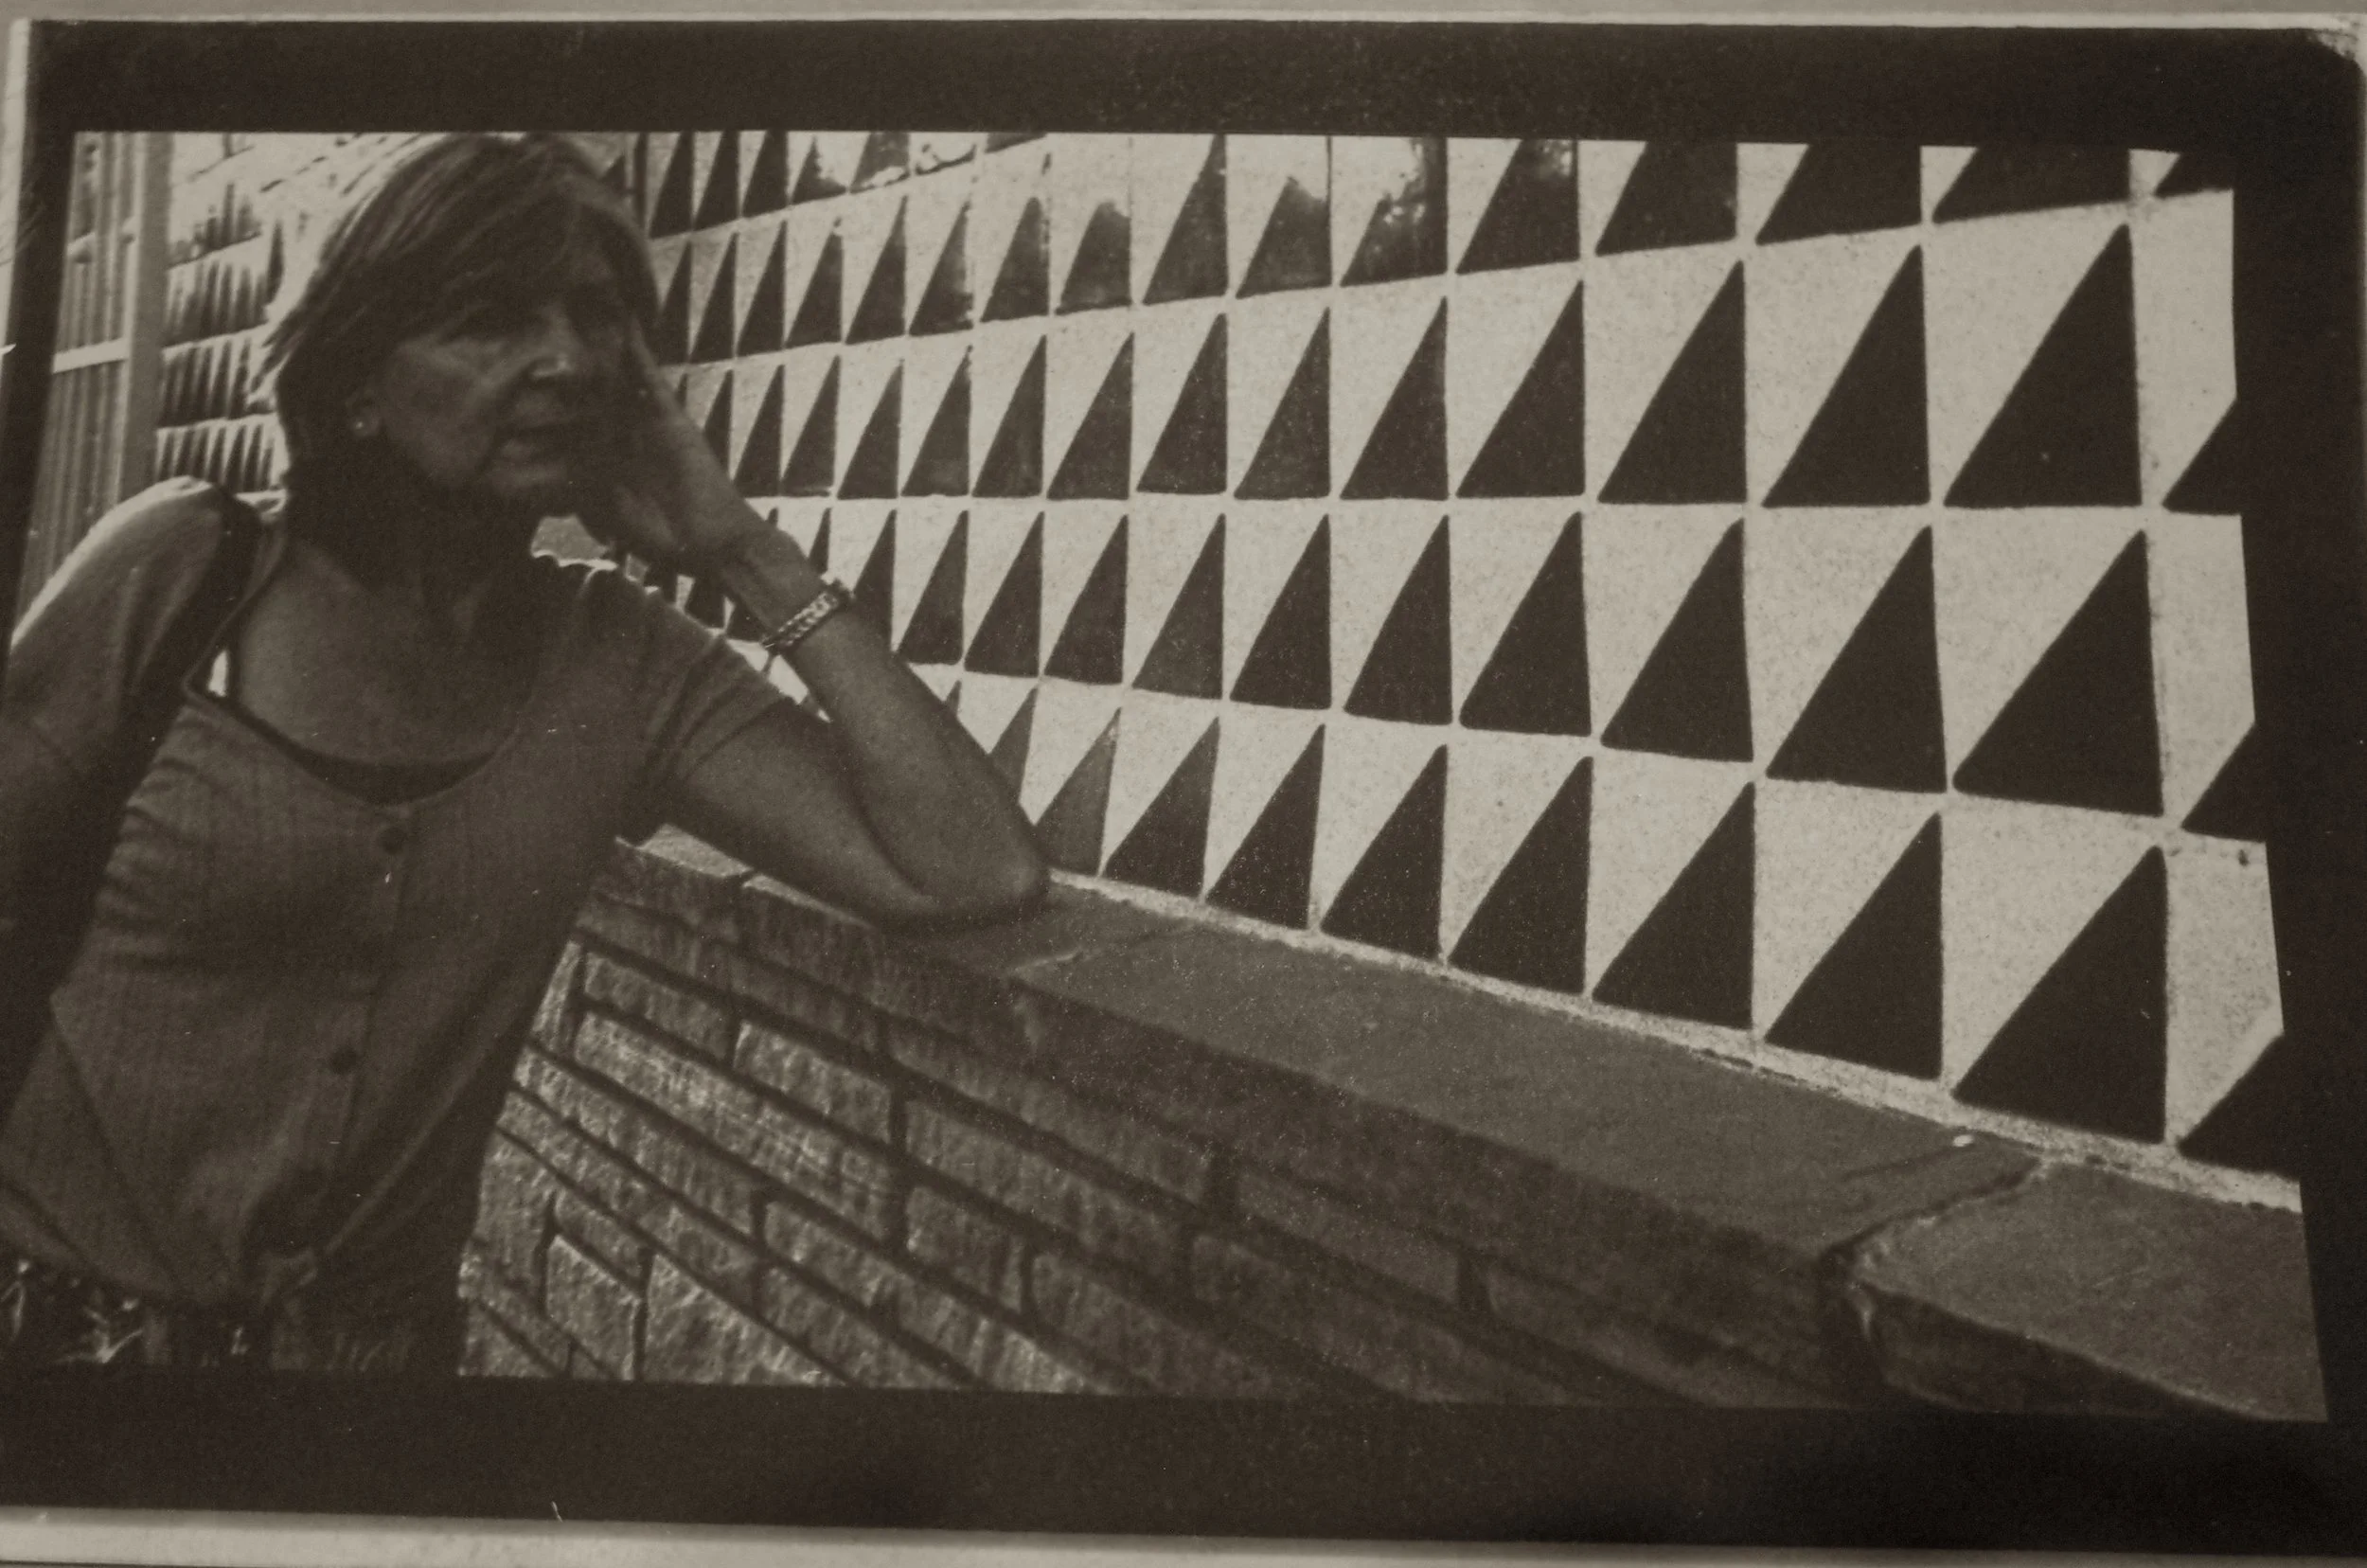
Not a bad shot, considering what the first two looked like.
The 2.65 KWH is relatively low, thus I could develop the previous image 7 minutes. If the KWH was higher, the developing time is less. So this figure does have value for ‘me’, although still very inconsistent as the % of silver nitrate is a variable as well as the high contrast value of any given negative. Multiple variables involved.
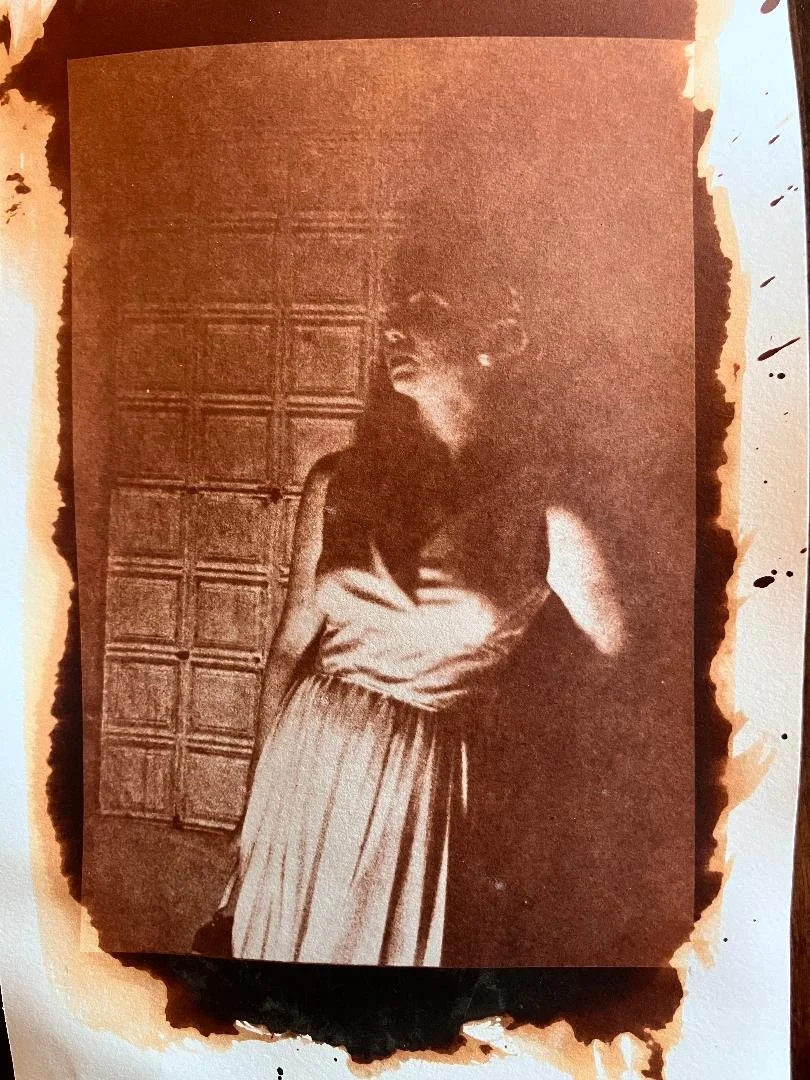
Relatively low KWH….and 5 min in the sun makes for a pretty decent final image.
This one turned out well…I was pleased with this attempt, …under the sun.
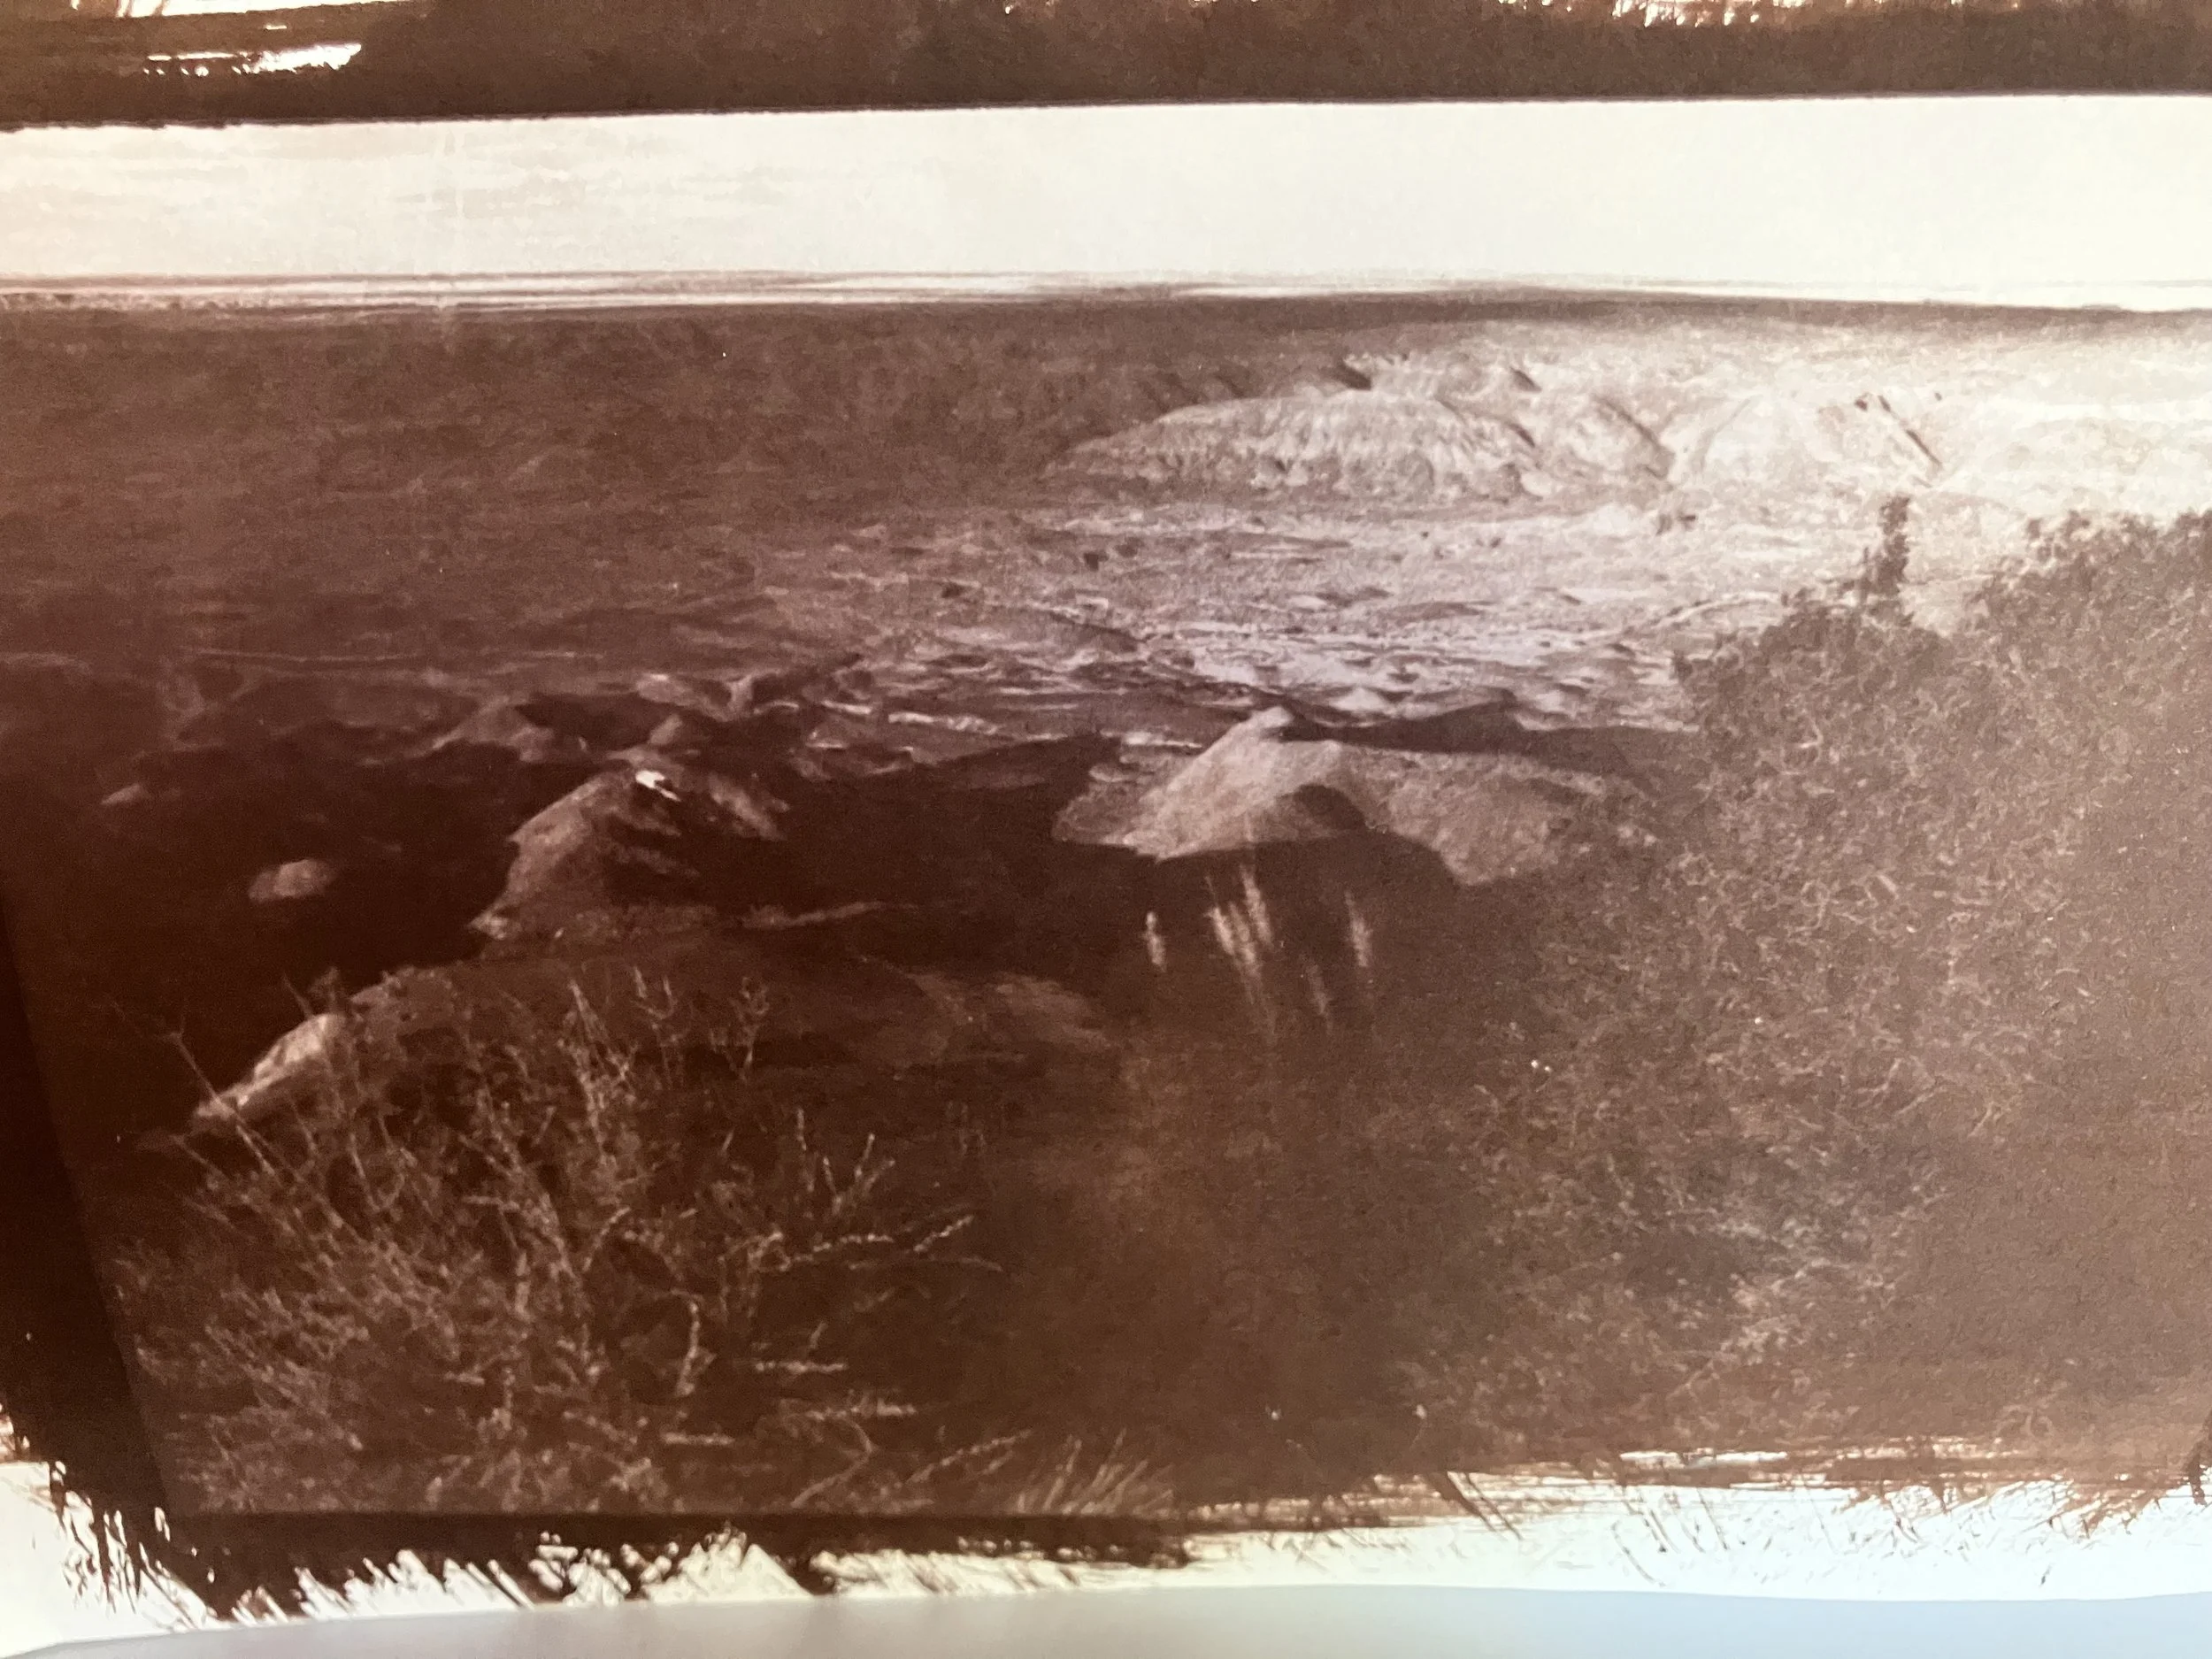
Notice that the KWH was pretty high….but the time to develop was 4 minutes. I checked at 3, and decided another minute was needed. Just a guess. It could have been only 30 seconds… so part of the process is guessing and observing the color of the image in the content frame
One of my favorite images…. I enjoyed the way this turned out with image color, style…mood etc. But tis ws done using cheap water color paper and the paper essentially started to tear during the rinsing process. Although I liked, as it fits the mood I wanted, I would suggest to not use cheap water color paper.
High KWH ….but only 3 minutes in the sun. The overall negative of these two faces in the night was pretty black/dark as most of the image is ‘night’. I began shading here with my hand and tried to keep the faces lighter.
I enjoyed this image. I feel it turned out the way I wanted it to. The image itself was taken in the dark in Lisbon, so given the lack of light, I was surprised at how much white I could pull and print to salt print,
The previous image taken in Lisbon, was shot in the night, and was done with high contrast in mind. Thus only 2 minutes in the sun was needed here. II shaded the ligher areas with my hands.
One of many ‘nudes’ I did using this same negative. This shot was taken with a pinhole camera, inside…. so as you view this shot throughout the coming process, you will find some better than others. Most were done outside in the sun, but I have done this same negative using my UV light box.
This was relatively light KWH and done in the morning ….(not sure if morning or afternoon relative as long as the KWH are equal). The image had solid contrast and I wanted the body to show up, so I moved the image to the ‘shadows’ , thus eliminating the need to ‘shade’ with my hands. I experimented with this particular ‘nude’ shot often and varied my approach
The next three shots are from hand-paper made in Mexico.
Sometimes it is worth experimenting with paper to see if it works or not,…obviously, this paper is not one I want to try again. But the paper was hand-made and I thought it would lend itself some character. But Hand-Made paper just doesn’t have the ‘substance’ and tightness to accept liquids, either in the pre or post stage of process.
I went too little here…with only 90 sec in full sun, and another 90 sec with extensive hand shading. The KHW in my case, per my app, was high.
An image that had low contrast so just not a good candidate for salt printing.
My notes simply state to check the right portion of the ‘content print frame’. I believe here, I pulled up the wrong side to view, as the body is not exposed correctly which was my intent. Check the portion of the frame you want exposed the best, is my thinking
This one turned out okay too, much like one of the previous ones I did. Different times etc…so not sure what variable (s) came into play.
Again experimentation. I exposed for one minute under no sun, just shadows. Then I moved to the sun and checked every 45 seconds.
This one turned out pretty good…. I like this version and I have done several prints of this same negative and some are better than others
Total Shade….no direct sun in this case. But look at the length of time I left exposed in the shade.
This was developed in the Shade…so not really good
This one too was in the shade but with ‘no surrounding sun’ as my last image prior was. Sunny but exposed in shade as opposed to exposed in shade on a not so sunny day. Big difference
I summary for 2022… I feel I need to look into getting a light box. The ‘sun’ is simply unpredictable and chemicals/supplies get too expensive to continue this using the sun only. I enjoy the process of the sun, as that was how things ‘were done’ in the 19th century and that was an important variable I wanted to experiment with. But the key is to experiment. Learn from paper type, exposure time…etc. You can see I have some success and some failure and some total failure. That is okay for that is ‘the learning process’. Never, never, never….never stop learning.
This is 2023…I shifted at this point from the variables of attempting to print OUTSIDE in the SUN, do my light box which I made in my studio. So 2023 is an experimental year (Oct and Nov) as I played with not only the light box but also with various types of papers whether cold/hot press and various quality of water color paper. Obviously the cheaper paper, the worse quality and cold press is way too ‘textured’ for me. So hot press works best and either Arches or equal quality of paper is needed. I prefer Arches Water Colour Hot Press 130-140 pound.
Note that I missed some of the silver nitrate coverage over the face. Not a bad print otherwise, as this was my first try at using my home made UV light box. I find the light box to be much easier but, the reason I used the ‘sun approach’ was I wanted to remain true to how the old-timers did it, and they certainly didn’t have light boxes in the mid 1800’s. But then again….I have transitioned to the light box as a much easier approach, although in terms of time to actually produce one salt printed image, the overall process is about the same length of time overall (start to finish)
Using the home made light box. I wanted to experiment with time under the UV box. Perhaps not a great image to begin with as it lacks black and white high contrast. Also, I ran out of preferred water color paper at this point, so I experimented with cheap paper, which is not something I would advise. Don’t waste your chemicals as they can get expensive when you burn thru them. Also, I ran out of time and will not be able to return to the salt printing process until March of 2024. Travel and photography projects to take care of.
Be careful to get all of your paper coated with salt, or silver nitrate. But also, the use of poor/cheap water color paper is an added variable as the paper absorbs your chemicals differently than quality water color paper such as Arches.
I will return to this one eventually as I enjoy this image overall, but feel the paper I used was cheap, and would like to try his on Arches Water Colour paper.
Again, cheap paper…..do not use. And I believe this was COLD PRESS paper which adds a lot of texture but given this process where the image is always going to be a bit imperfect….Hot Press takes away that extra texture. So use Hot Press Water Colour Paper
These images (as the one prior, was also done with cheap paper. I love this image on photo paper or on the web, but not so much here as the image original negative lacked high contrast. You need high contrast images to be successful with Salt Printing…. Just not enough substance in this one (white whites )…..
Look at the texture here….Cold Press and cheap paper
2024 Year
2024…a New Year….I am working on challenging myself with new high contrast negatives ; also….I am working with my negatives being Dry Prints instead of negatives enlarged onto Transparancies. I have found that the quality of the transparency film is critical. You need quality and regular cheap transparency doesn’t hold ‘ink’ well, so there is lots of wet ink coming off continually. If you use Transparency Film, use Pictorico. But Dry Printing using regular print paper works fine. But note, when using dry printing method, do not use emulsion side to emulsion side in your print contact frame. Use emulsion side facing out, otherwise the UV lights will not create an image….Having the emulsion side ‘in’ …doesn’t provide enough contrast between blacks and blacks …
This was more an experimentation as I picked up a new printer that supposed accepts transparency film (Canon Mixma IX6820) as you can see various marks coming thru on this image that was on the flip-side of the paper. Since I wrongly used emulsion to emulsion (water color paper to image) the outside facing the UV lights was the initial printer testing marks. You can see they showed up in this image as both the negative itself + the print testing marks show up! Oooops, oh well. Just playing with this anyhow.
This print was done on regular Printing paper. The problem with this print (although it looks unusual) was either the contact print paper or the Silver Nitrate wasn’t quite dry, so the spotted area on lower right side is the ink ‘pulling’ from the paper. Make sure you paper is dry.
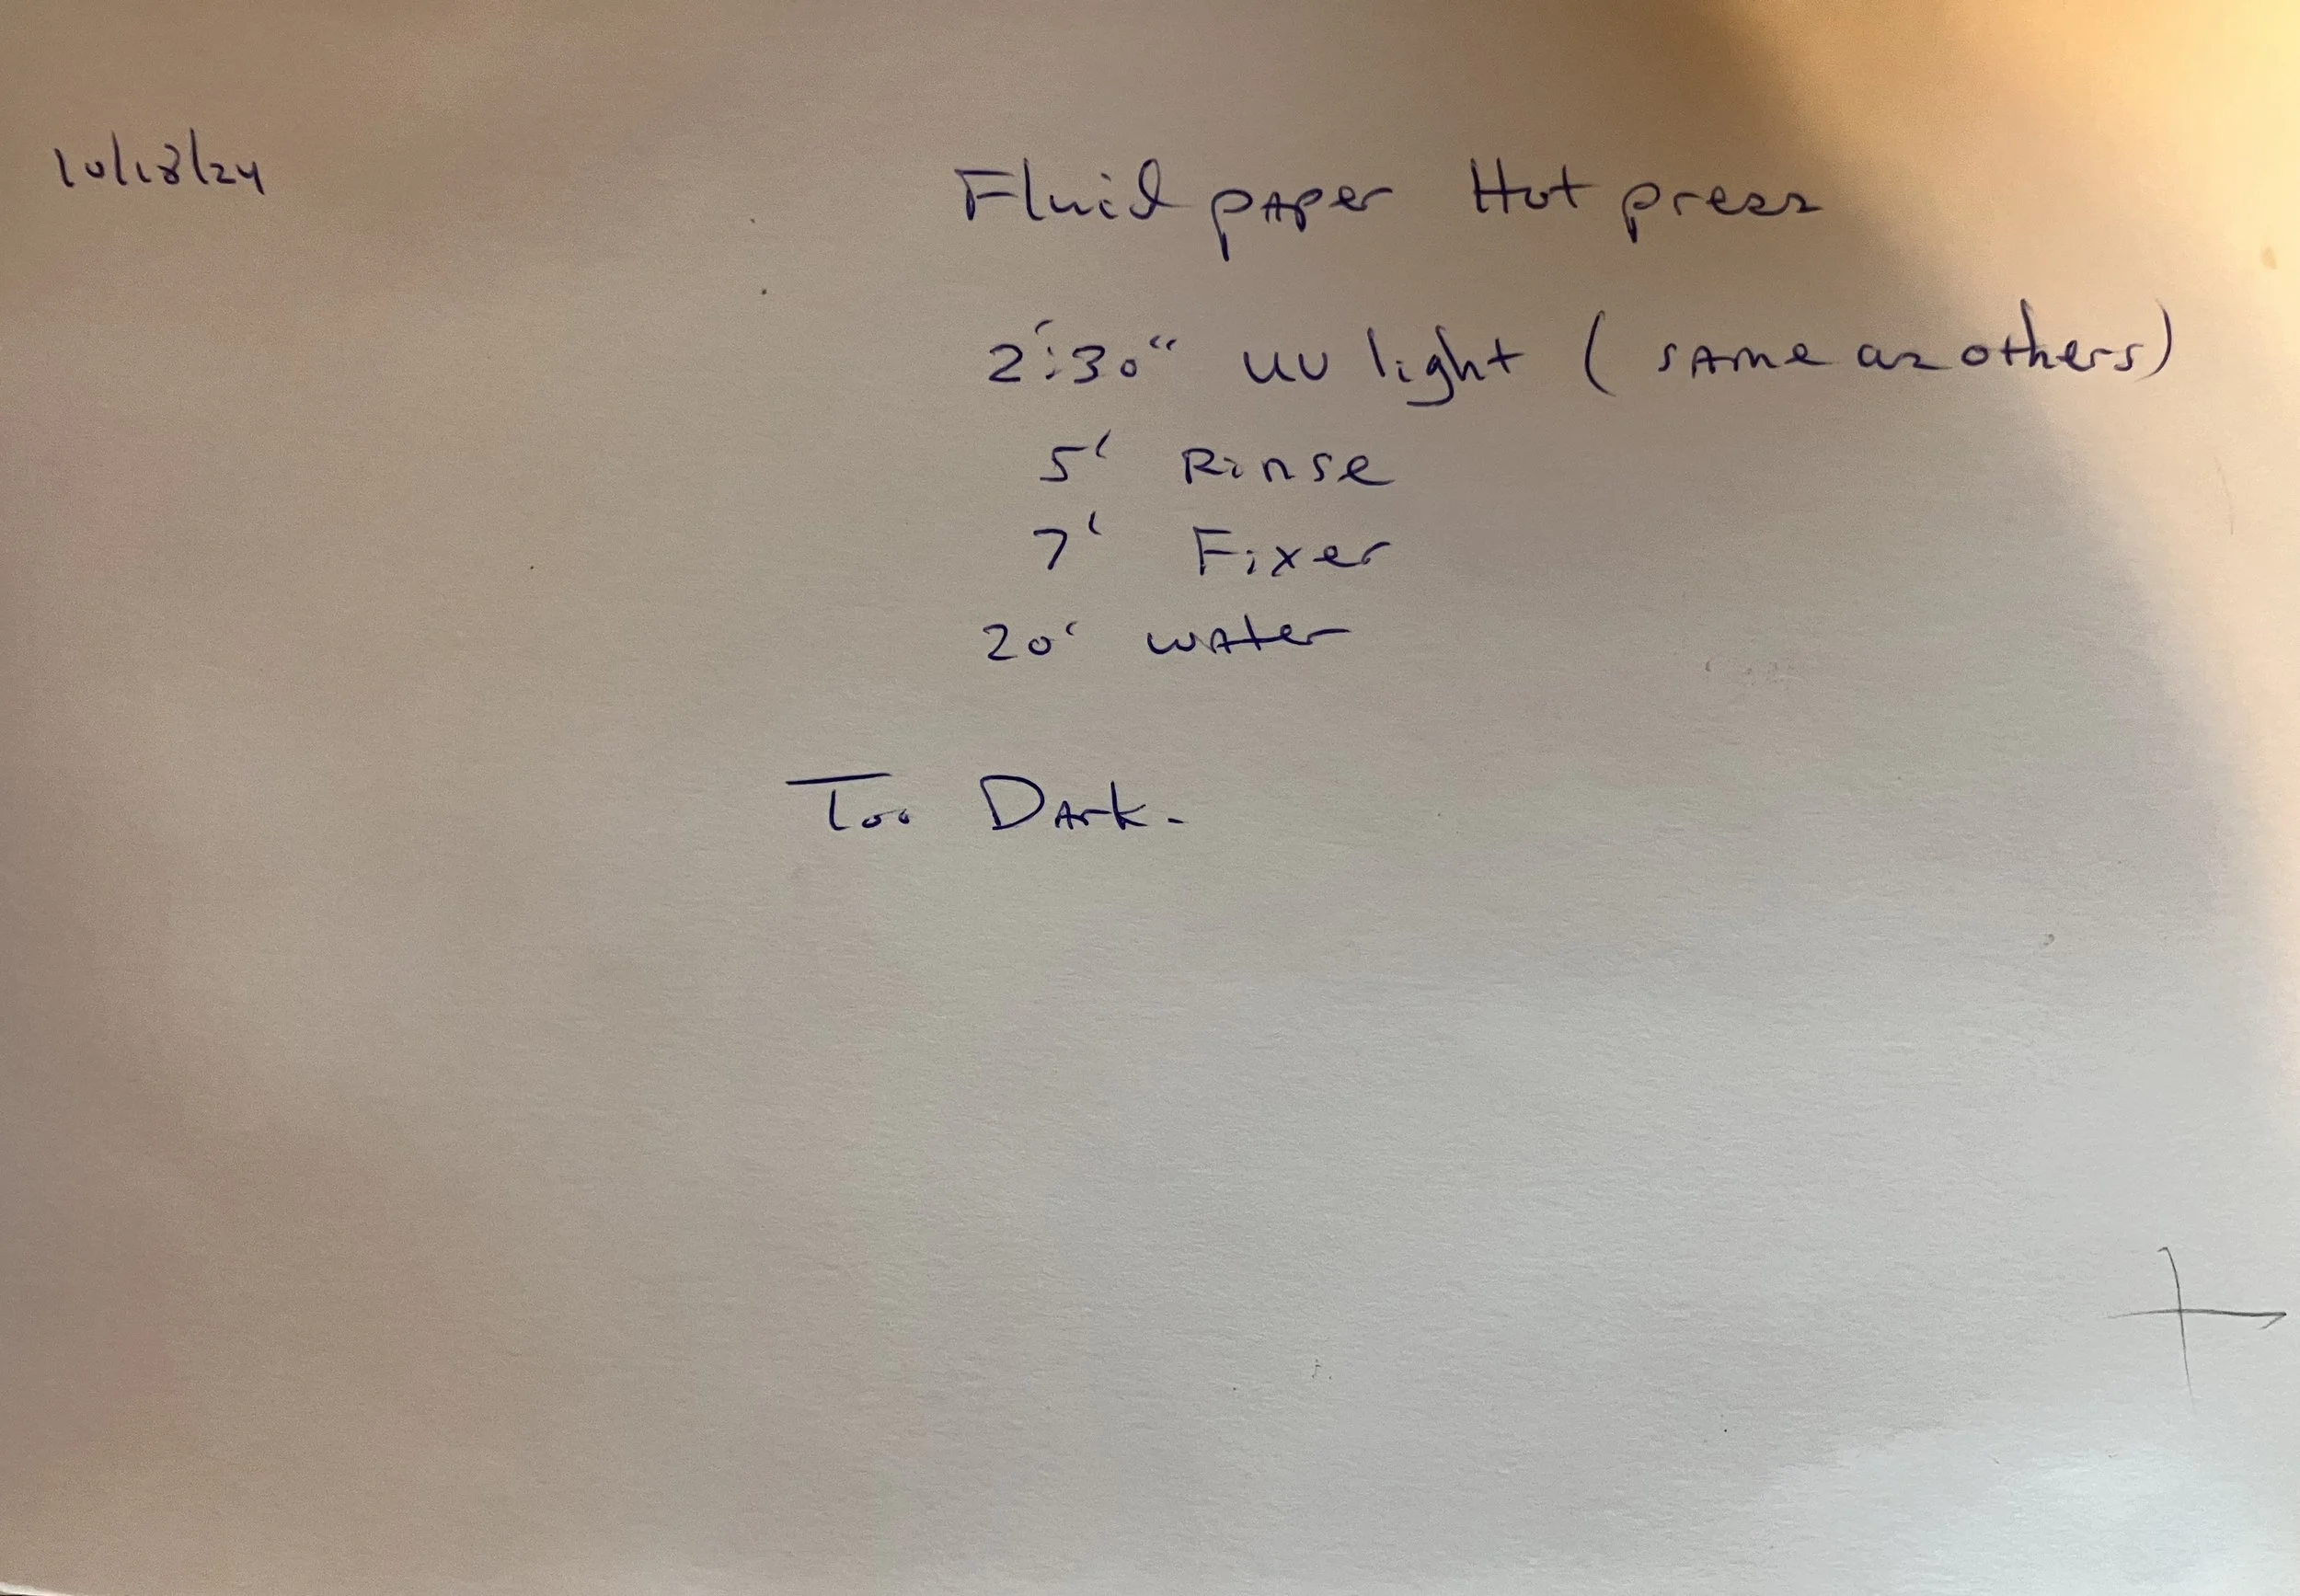
I like this image. Now, the only thing is, why did the sepia show up in this image while the previous image is darker/brown and both were under the UV lights about the same time and both images came from the same dry print negative. Go figure!
This was a bit washed out in the negative so I redid the negative and will try tomorrow. But still a reddish tint to this photo. Just like in the two previous ones of the Marilyn Monroe Look-alike, one is darker brown and the other is redder. Why? Same chemicals, same process etc. Why do some images have a browner tint and others a reddish? Not sure……. I do know that when I take them out of the UV box, both have a brown tint to them. When I place in the initial wash, sometimes it turns reddish and gets lighter reddish in the fixer. It eventually darkens as it dries after the second wash, but not as brown as I would like it. Why? That is my question that I cannot answer and is driving me up the wall nuts.